How To Install A Dash Cam: Step-By-Step Guide
KEY TAKEAWAYS
Road safety has seen growing attention and consideration in the past few years, and for a myriad of good reasons. Dashboard cameras are commonly found in an average driver’s car as they provide security against reckless drivers, road accidents, or new drivers on the road. This device can also deter theft and keep footage of every journey you take, which is especially useful when something goes wrong.
Dash cams have long been popular among police enforcement and long-haul truck drivers, but the market is experiencing a surge in popularity and market share among commercial and passenger vehicles. Despite their rise in popularity, not many know how to install a dash cam correctly. Read the step-by-step guide below to learn the proper installation process of a dash camera in your vehicle.
How To Install A Dash Cam On Your Own
If you’ve been looking for the best car accessories for your vehicle, you’ve probably noticed that dash cams are one of them. There are options for every type of driver, from forward-facing to front-and-rear cameras. But, no matter which one you choose, there’s one crucial step to take before it’s up and running — installation. Fortunately, we’ve listed the important steps you need to follow to set up your dash cam.
Prepare Everything You Need
First, prepare all the equipment you’ll need. Most dash cams already come with an installation kit that contains all the necessary tools and instructions on the correct method of installing your dash cam. It will probably also come with wires, a cord, and a microSD card. Familiarize yourself with the built-in port and fuse box of your vehicle, which could, later on, serve as the power source for your dash cam.
You’ll need to set aside some time for installation, but the tools required should be few. Grab a screwdriver and some adhesive tape to hold things together.
Pick A Position For Your Dash Camera
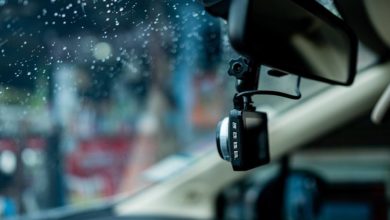
The most important consideration when positioning your car’s dash cam is having an unobstructed view of the road ahead. A standard location is just under the rearview mirror. Alternatively, some drivers place their dashcam where the windshield meets the dashboard.
The most important thing to remember is that the dash cam should not hinder your field of view in any manner for it to be legal. This also holds true if you have a rear-facing dash cam to install.
Types Of Mount For Dash Cams
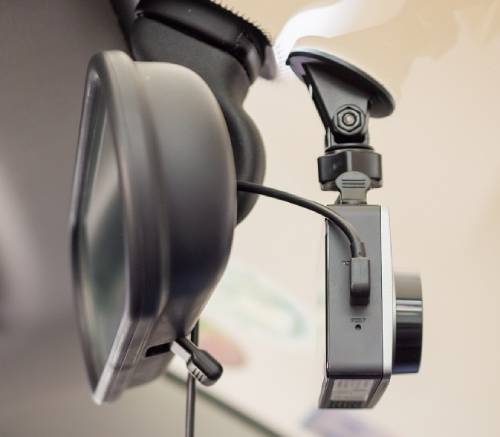
Fixing your dash cam into position normally necessitates the use of a mount, which can be of two types. The suction mount, which uses a suction cup, is more practical because it allows the mount to be readily changed. The other alternative is a bracket that uses sticky self-adhesive to mount your dash cam in place.
Plug-In Installation
Dash cams are third-party accessories, so you’ll have to deal with wiring and cables, which is the most difficult aspect of the installation process.
Plugging your dash cam into your car’s cigarette lighter or auxiliary socket is the most basic way to power the device. Most installation kits include a bundled cord, usually at least 4 meters. If you have a powered rearview mirror, you may also plug it in there instead. However, you will almost certainly require an adapter for this.
Hard-Wired Installation
If your dash camera requires hard wiring, its power supply would be your vehicle’s fuse box. You can find this underneath the dashboard on the driver’s or passenger’s side. Once you have located your vehicle’s fuse box, you may now route the power cable from the dash cam toward your car’s fuse box. When doing this, it’s best to keep the power cable tucked into the headliner and alongside the existing wires in the A-pillar.
In rare cases, it may be necessary to remove the A-pillar clamp to gain total access to this part of the car for power wire routing. Also, keep the power cable and electrical wires attached to the edge of your vehicle’s interior panels for the connection to look clean and secure.
This procedure is the hardest and most dangerous part of the installation process. We recommend hiring a professional to perform a hard-wired installation.
Tidy Up And Make Sure Cables Are Secure
After you’ve plugged everything in and turned it on, double-check that all wires are secure and tightly connected. Check that no cables are getting caught on anything or being pinched or chafed by trim components. Any exposed spots on the cable could cause wear and tear over time, resulting in a malfunction or the dash cam not operating at all.
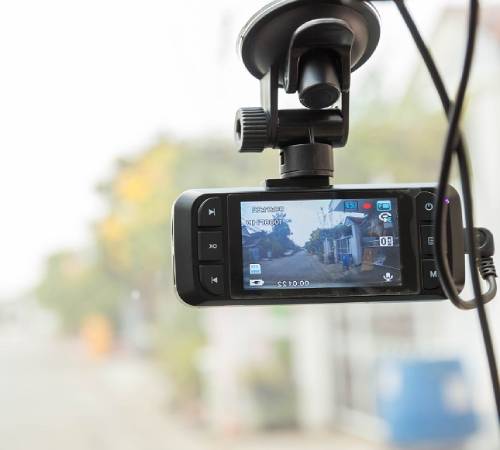
Using Your Dash Cam
This should be the simplest part of the process. When you turn on your car and start driving, most dash cams will begin recording automatically. It’s important to note that your dash cam will consume power from the battery even while the car is turned off, which can happen with some dash cam units. To avoid draining your car battery, you may need to physically switch it off or disconnect the power cable.
Ever wondered how motion sensors function to keep your home safe? Check out this Security Forward article to discover how motion sensors work.